Saturday, 8 June 2013
Friday, 7 June 2013
Special 80th Birthday Card
Last year my Mom turned 80, and my Dad asked me to make her a birthday card ... he wanted something special inside - something unexpected.
For the front of the card, I scanned and printed this picture of my beautiful Mom when she was younger.
I used a pretty silver embossed card, and PTI number dies and birthday stamps. I like that the card is rather classy. Until you open it up.
The inside is bright and colourful and he loved it.
I hear my Mom did too. :-)
For the front of the card, I scanned and printed this picture of my beautiful Mom when she was younger.
I used a pretty silver embossed card, and PTI number dies and birthday stamps. I like that the card is rather classy. Until you open it up.
The inside is bright and colourful and he loved it.
I hear my Mom did too. :-)
Thanks for stopping by today.
Thursday, 6 June 2013
Blue Rose Sympathy Card
One of the things in my 'Odds & Sods' pile was this lovely blue metallic patterned paper panel. I decided to make a sympathy card to replenish my dwindling pile of those.
The blue rose piece is actually printed on acetate, so I backed it with white card stock and fussy cut it out before popping it up on the card front.
The card is larger, 6.5 x 5" and inside are stamped words and two more acetate embellishments.
The blue rose piece is actually printed on acetate, so I backed it with white card stock and fussy cut it out before popping it up on the card front.
The card is larger, 6.5 x 5" and inside are stamped words and two more acetate embellishments.
Thanks for stopping by today.
Wednesday, 5 June 2013
Family of Owls
I have been debating about getting the Stampin' Up Owl punch since it was first released. I keep finding all kinds of reasons why I don't 'need' it. When I stumbled on this Sizzix Owl Sizzlet, I thought I would be able to use it and stop wishing for the Stampin' Owl punch.
My little family of owls turned out pretty cute!! (Sorry for the terrible photos - bad lighting and I was using my phone instead of my camera).
But you know what? They still aren't as cute as the ones made with the Stampin' Up punch. The punch is now on order and I should have it next week. :-) Meanwhile, I have this little collection of cuties to use.
My little family of owls turned out pretty cute!! (Sorry for the terrible photos - bad lighting and I was using my phone instead of my camera).
But you know what? They still aren't as cute as the ones made with the Stampin' Up punch. The punch is now on order and I should have it next week. :-) Meanwhile, I have this little collection of cuties to use.
Thanks for stopping by today!
Tuesday, 4 June 2013
Christmas Sketch Card (Sketch #18)
This week, the challenge at the 52 {Chrismtas} Card Throwdown is a sketch challenge. I couldn't wait to play along even though there were circles in the sketch.
I kept fairly close to the sketch, even using the circles. I'm trying very hard to embrace circles. Very hard.
I chose not to do a square card though, instead going with a side fold A2 card.
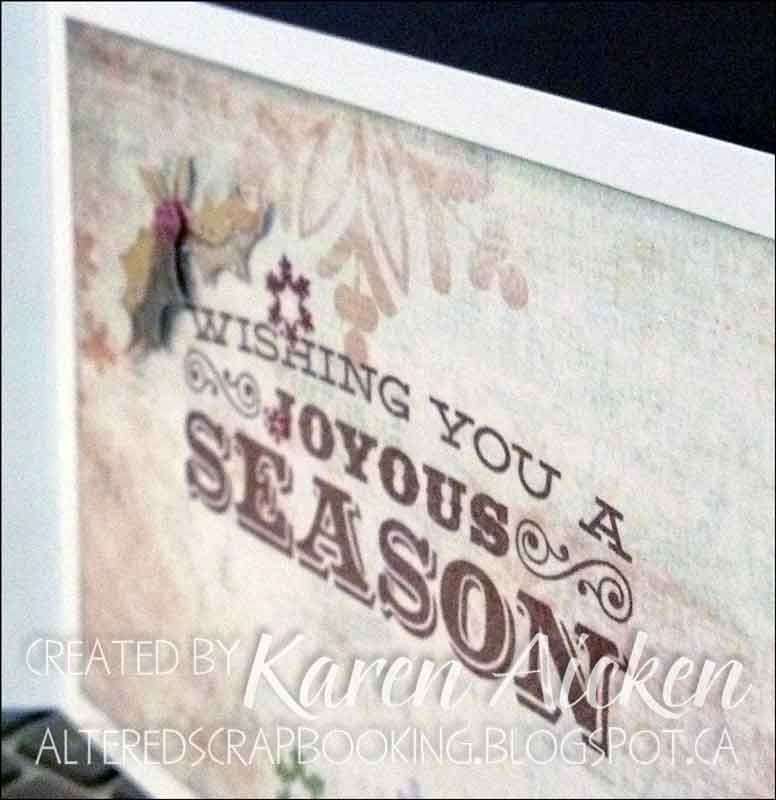
When I went down to my studio to make my card, I planned on using snowflakes. Something about the sketch just made me think of snowflakes. As you can see, I ended up going in a different direction entirely. I'm so happy with how this card turned out!
Oh, I wish you could see the glitter and shine on this card! I had to use my phone to take the pictures last night and I just couldn't get a good picture of the glitter. I added a paper panel and another 3-d sticker above the stamped greeting. Both on the front and the inside, the sparkled areas of the patterned paper work as a resist on the ink. I like the effect of some of the letters fading out behind the glitter pattern.
I kept fairly close to the sketch, even using the circles. I'm trying very hard to embrace circles. Very hard.
I chose not to do a square card though, instead going with a side fold A2 card.
When I went down to my studio to make my card, I planned on using snowflakes. Something about the sketch just made me think of snowflakes. As you can see, I ended up going in a different direction entirely. I'm so happy with how this card turned out!
Oh, I wish you could see the glitter and shine on this card! I had to use my phone to take the pictures last night and I just couldn't get a good picture of the glitter. I added a paper panel and another 3-d sticker above the stamped greeting. Both on the front and the inside, the sparkled areas of the patterned paper work as a resist on the ink. I like the effect of some of the letters fading out behind the glitter pattern.
Thanks for stopping by today!
Monday, 3 June 2013
Masculine Birthday Card
Today for Masculine Card Monday I have an older card to share. When the sketch FTL 120 was released at the Clean and Simple stamping Blog, I knew it was a winner. I started making masculine cards and ended up with several - each one just a little different. (They are now on FTL 242!!)
Lots of different textures and natural colours keep the feeling masculine - even with the pleated rosette. The words "happy birthday" were stamped in a Versamark ink then brushed with copper Perfect Pearls.
I folded and knotted a soft piece of hand made paper from Nepal ...
... and added a corduroy button.
Lots of different textures and natural colours keep the feeling masculine - even with the pleated rosette. The words "happy birthday" were stamped in a Versamark ink then brushed with copper Perfect Pearls.
I folded and knotted a soft piece of hand made paper from Nepal ...
... and added a corduroy button.
Thanks for stopping by today!
Saturday, 1 June 2013
Little Bird Sympathy Card
Yesterday I mentioned how much I like the latest sketch at the Freshly Made Sketch blog, and today I have another card to share using it.
I used a white Bazzil textured card stock for the white card base, using the Sizzix Pop N Cuts base to create the A2 sized base. This gives me the look of a top fold card, without having to deal with a top fold card! The rounded corners are just a bonus. :-)
It's been awhile since I've used this sweet Stampin' Up bird punch - and I knew I wanted to use it on this card. Unfortunately my Mom has had to use a number of sympathy cards these past few weeks, so I need to replenish that stash.
Thanks for stopping by today.
Subscribe to:
Posts (Atom)