Showing posts with label Halloween 2014. Show all posts

Thursday, 30 October 2014

Grandson's Halloween Cards

Good morning friends.

I'm really late posting today - forgot all about checking to see if I had anything scheduled or not!  Today's share are the Halloween cards I made for our 2 year old Grandson Ethan, and 5 week old Ilai.


At the time I made the cards, I hadn't unpacked my ink pads etc ... so I outlined the stickers and panels with a black sharpie for contrast.


Supplies:
Rust card stock - stash
Patterned paper - Recollections
Black Sharpie
Stickers - Dollar Store
Stitched Label - Paper Smooches


Thanks for stopping by today.


Wednesday, 29 October 2014

Four Halloween Cards

In addition to making cards for us to give our Grandkids, my Mom asked for cards to send as well. So that made eight cards for Halloween.

These are the ones I made for Olivia and Ethan for my parents to give them. I made them little shaker cards, taking advantage of the images on the printed paper to add the confetti to.  I didn't add a whole pile of confetti and avoided little beads because at two years old, Ethan would probably pull it apart to see how it works. He's a thinker, that one.


Below are the two cards made for the youngest, Zachary is 7 months old and Ilai is 5 weeks. They didn't get shakers, but they did get sparkly sticker embellishments.


Olivia and Ethan LOVE getting Happy Mail, so they would have been thrilled to find these cards in their mail box. 

Supplies:
Black card stock
Rust card stock
Patterned paper - Recollections
Scalloped Rectangles - Spellbinders
Transparency Scraps
Confetti - stash
Stickles
Stickers - Dollar Store


Thanks for stopping by today.

Tuesday, 28 October 2014

Olivia's Halloween Card

Good morning friends.

I didn't have too many supplies accessible when we first moved, but I had made sure that my Fall & Halloween stuff was in one of the first boxes I unpacked in that room.  I used the Katie Label Pivot for Olivia's Halloween card.


These K& Co 3-d stickers have so much character - they make me smile. All those little pumpkin teeth - ha!  I added a glittery Peel Off border along the reinforcing piece on the front. This border is actually the piece between the star border strips but it's just too pretty to be wasted.


Since my Halloween stamps were still packed though, I hand lettered the 'BOO' for the right side.


Supplies:
Katie Label Pivot, Pop it Ups - Karen Burniston for Elizabeth Craft Designs
7062 Glitter Stars Peel-Off - Elizabeth Craft Designs
Patterned paper - Recollections
Black card stock - Bazzill
White card stock
3-d Pumpkin sticker - K & Co
Tombow markers


Thanks for stopping by today!

Saturday, 25 October 2014

C4C 259 - Photo Inspired Challenge Card

Good morning friends

It's Saturday, so that means a new challenge at the Crazy 4 Challenges blog.  Our October Hostess is Jessie Rone, and she has a Halloween Photo to inspire us. The Guest Designer this month is Roxie Glaza.


I was inspired by the pumpkins in the photo, and that they were in rows ... so I chose this 'rows of crows' patterned paper and added a pumpkin on top. The patterned paper also goes with the black and white in the background of the photo.


The shiny pumpkin sticker has embedded glitter, as does the crow paper.


Inside, I used the Lorna Label Pop Up (yes, again) to create the pop-up base for the grinning pumpkin sticker to sit on.


The banner die comes with the Lorna Label set, but the tiny stars are from Karen Burniston's new Happy Birthday Pop Up die. See me trying to embrace stars? I really am trying.


This is our Halloween card for our two year old Grandson Ethan. He is going to get such a kick out of  the Pop Up.

Since moving to the country, I've been really REALLY enjoying the peace and quiet here. And the scenery. And the wildlife.  There is a group of four doe I see quite often,  and I refer to them as "The Ladies".  Well 'The Ladies' showed up outside my studio window this week ... twice!


Supplies:
Lorna Label Pop Up, Pop it Ups - Karen Burniston (Elizabeth Craft Designs)
Patterned paper - Recollections
Black card stock - Bazzill
3-D Stickers - K & Co
Black Sharpie
Plastic Pumpkin Sticker - from my stash
Cream card stock
Pumpkin Card stock
Harvest Gold card stock


Thanks for stopping by today.


Saturday, 11 October 2014

C4C 257 - Halloween Treats

Good morning friends.

It's Saturday, so that means a new challenge at the Crazy 4 Challenges blog.  Our October Hostess is Jessie Rone, and she LOVES Halloween. She challenged us to create Halloween Treat Holders.  The Guest Designer this month is Roxie Glaza.

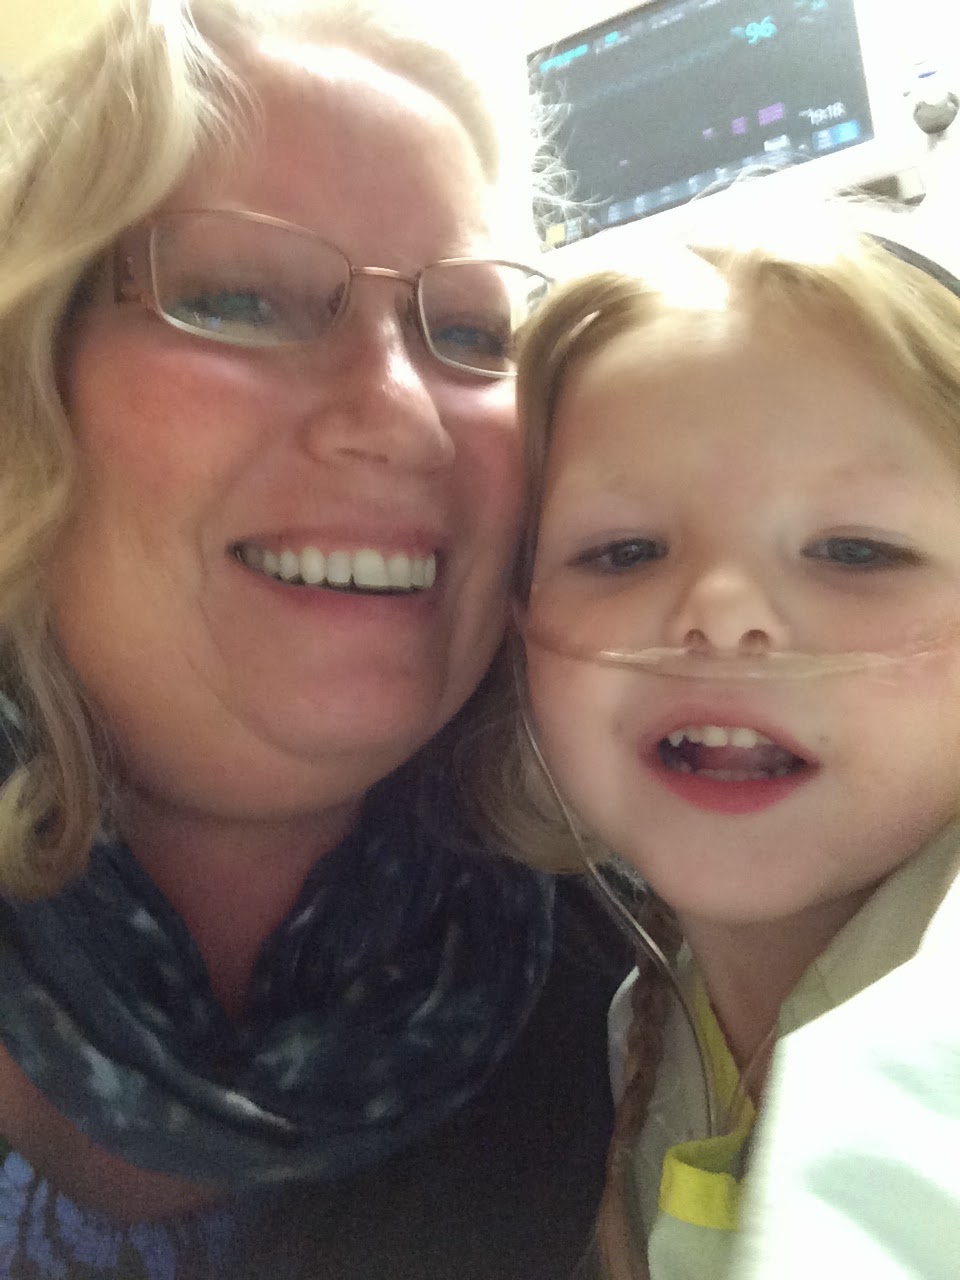
Normally I'd be all over this challenge, but this year - with our 3 year old Granddaughter's heartbreaking diagnosis of Pulmonary Hypertension - MY heart just wasn't really in it. But I took the challenge as an opportunity to make a little treat holder for Olivia and one for Ethan. Zachary at 6 months isn't eating treats yet, and neither is 4 week old Ilai.


I started with textured card stock cut at 3-1/2 x 8-1.2".  Using the new Elizabeth Craft Designs "Tags and More' dies, I cut the top end of each strip with a different shape. I cut a backing piece for each tag out of contrasting card stock cut at 3-1/2 x 2-1/2".

I added the coordinating 'window' die to each tag and ran them through my die cutter again creating the openings which I then attached the smaller pieces to at the back.


I added a couple of score lines and attached the bottom edge below the decorative openings with this little bookplate die which comes with the Tags and More (Deco) set. If I had any idea which box my brads were in, I would have unpacked it and added brads. Hopefully soon they will be found. The movers stacked all those boxes in our garage, but it's hard to see what is in those boxes in the middle.


These treat holders aren't too fancy, because - let's face it - they will be torn apart within seconds to access the treats inside. But I had fun making them and the Grandkids will be excited to get them.

The Crazies would love to see what you come up with for the challenge, and be sure to check out the Design Team (linked on the right of my blog) to see their spooky creations. Please use C4C257 in the keywords if you upload to an on-line gallery.

Supplies:
Tags and More - Lace
Tags and More - Deco
Textured card stock - Recollections
Halloween stickers - my stash
Bakers Twine


Thanks for stopping by today

Thursday, 2 October 2014

Elizabeth Craft Designs Blog Post - a Halloween Card

Good morning friends!

It's my day to post on the Elizabeth Craft Designs Blog, and I have made a flat Halloween card using the new Tag Dies (which are amazing) and one of the new Halloween Peel Off's.


I hope you will join me on the BLOG to see the card and details.

Thanks for stopping by today!

Wednesday, 1 October 2014

Halloween Honey Bear

Good morning friends.  I can't believe it's October already - September went by in such a blur. I don't think I've ever gone through such a stressful month, so I'm more than happy to be waving goodbye to September.

I think I mentioned my plans on getting my studio set up right away. Yeah, that didn't happen. With Olivia's diagnosis of Pulmonary Hypertension, and the seriousness of the disease ... things like that are no longer important.

But in case you are interested ... here is what will be my new studio:


And here are the boxes of my studio supplies sitting in our garage.  95% of those boxes are of my stuff.


But this is what is important:


I'm sure you've heard the news now, that there are lots of new products at Elizabeth Craft Designs. Wonderful new products. Karen Burnison has added two character dies to the Pop it Ups collection - Dutch the Fox and Honey the Bear. Also there is a new Props 2 die that is birthday themed and works with all the character dies.  I used Honey the Bear and made this card before I packed up my studio in the old house ...


One of the UK Designer Challenge Team had come up with a fabulous card using the All Seasons Tree in black, and it inspired me to try black evergreens. Love how it turned out. After cutting the decorator trees, I traced through the openings with my sparkly gel pen, so the trees catch the light.


I used the Outdoor Edges (grass) on the orange paper, using the negative image to show the grass. Honey is holding on a 3-d pumpkin sticker with goggly eyes, and I cut Honey from Halloween themed paper in the same paper stack. The orange bat print is really REALLY sparkly.


Just look how cute the Honey Bear character is. The Designer Challenge Team has been having lots of fun with the new characters, and the variety of different bears they have come up with is inspiring.


Supplies:
912 Evergreen Pivot, Pop it Ups - Karen Burniston (Elizabeth Craft Designs)
948 Honey the Bear, Pop it Ups - Karen Burniston (Elizabeth Craft Designs)
914 Outdoor Edges, Pop it Ups - Karen Burniston (Elizabeth Craft Designs)
Patterned Paper - Recollections
3-d Halloween Stickers - K & Co
Glossy Accents
White card stock
Black card stock
Sakura Stardust Pen
Orange Washi - Scotch
Happy Halloween stamp - unknown
White ink - Colorbox
Card size: Standard A2

Thanks for stopping by today.

Tuesday, 30 September 2014

ECD September 2014 Designer Challenge

Good morning friends, and welcome to the September 2014 Elizabeth Craft Designs Designer Challenge. This month the theme is "Fall, Harvest and Halloween".

Since we were packing up my studio for our move, I was trying to work ahead and only had minimal supplies to choose from.  I decided to go with the Katie Label Accordion die set and the fun new Halloween Peel-Off's that coordinate. I love that you can get coordinating Peel-Offs to work with several of the Pop-It Up die sets.

Instead of creating sparkly embellishments from the Peel-Offs, I went with a different approach to adding colour.  I used this technique on my Asian Vase card for last month's challenge (see HERE), and loved it so kept out a sheet of vellum to play with.


First, I added the Gold Peel-Off's to the vellum.


I coloured the back of the vellum with Copic Markers ...


... And when you turn over the vellum, you see how bright the colours look! It's also a good way to use alcohol markers with the gold Peel-Off's. Because these markers are permanent, they will colour the Peel-Off if you accidentally colour outside the line. Ha - which I do frequently!


The vellum was then attached to Double Sided Adhesive, with white card stock attached to the other side. Then the Peel-Offs were fussy cut and ready to attach to the Katie Label Accordion card base. I like to use Fun Foam cut slightly smaller than the embellishment to attach larger pieces like these.


I added this pretty black Peel-off border sticker, as it resembles spider webs to me when used with themed paper like this.


Here is a look at the back side of the card.


I have a little tip for you. The patterned paper I used is quite stiff, and the accordion tabs split apart as I was assembling the card.  To remedy this, I added two small strips of a Peel-Off border to each tab, front and back. Because the Peel-Offs are vinyl, they are flexible and make wonderful HINGES! Saved having to trash the card and start again.


Supplies:
903 Katie Label Accordion,
913 Katie Stars Frame Edges,
2585 Halloween in Frame (Gold),
503 Double Sided Adhesive,
1278 Lace Fan 2Border Peel Off (Black),
1134 Lines Dots Border Peel Off (Black) (for hinges),
7018 Glitter Dots,
Vellum
Black card stock
Patterned paper - Recollections
Copics
White Gel pen
Black Sharpie - fine
Fun Foam (for attaching the large Katie Label Peel-Off embellishments).

I hope you will check out the Elizabeth Craft Designs BLOG today (HERE) to see all the fun creations from the Design Team!

Thanks for stopping by today!

Wednesday, 17 September 2014

Crows for Halloween

Good morning friends!

Today is my third card for Karen Burniston's September Designer Challenge - Spooky September.

I actually made this card awhile ago - it was the first time I used the Spiral Circle Pull Card die (SCPC).

I cut the patterned paper 8" x 5-1/2" and scored it in the centre. I really love how this die cuts notches to keep this Z-Fold card in the closed position until the recipient pulls the side to reveal the surprise inside.


The SCPC comes with a spiral, that I cut from the centre circle. Then I attached 3-d crow stickers that I have had in my stash for a couple of years. I found them on clearance at Michaels after Halloween one year and just knew I'd have a use for them. Ha!

The Glittery ghosts are clear stickers from our dollar store.


Sorry - this card was really hard to photograph.  When you pull the card open, the crows spread out along the spiral ... the further you pull open the spiral, the more they spread out. With those googly eyes, these crows are SO fun.


I cut the banner that comes with the Lorna Label Pop Up (also a Pop it Ups die by Karen Burniston for Elizabeth Craft Designs) and penned Happy Halloween on it. It was attached to the folds inside and is revealed when the card is pulled open but hidden when it is closed.


Today is the day Karen Burniston has her post on the Elizabeth Craft Designs Blog, so be SURE to go check it out!

Supplies used:
Card size: 5-1/2 x 5"
916 Spiral Circle Pull Card, Pop it Ups - Karen Burniston (Elizabeth Craft Designs)
915 Lorna Label (Banner), Pop it Ups - Karen Burniston (Elizabeth Craft Designs)
7018 Glitter Dots in orange and black, Elizabeth Craft Designs
Patterned paper - Recollections
Custom Texture Stamp
Crow stickers - Recollections
Clear Stickers - Dollarama

Tuesday, 16 September 2014

Halloween Hoppy

Good morning friends!

Today's share is my second card (of three) for Karen Burniston's September 2014 Designer Challenge … Spooky September. I hope you enjoyed all the creative cards the Designer Challenge Team posted yesterday!

I used strips (scraps) of sparkly patterned paper from a Halloween paper stack for the front, tying everything together with orange seam binding.


See how sparkly the paper is? Love this embedded glitter paper.


Inside, Hoppy is decked out for Halloween with a sparkly witches hat and popped up using the Lucy Label Pop Up. I made the hat using the same technique as yesterday, and yes - Hoppy the Frog was cut from patterned paper. This time I added enamel dots for Hoppy's eyes.


The glittery chipboard embellishments I had in my stash - they are so fun!


I love how the lacy Peel-Off border looks like spider webs when paired with themed paper.  I hand lettered the wording.


Make sure to check the Elizabeth Craft Designs Blog tomorrow, when Karen Burniston has her post with her take on the challenge.  I'll be back tomorrow with my third card for the challenge.

We were so frustrated with our contractors on Friday, my husband came home from work yesterday afternoon after he had called the company owner and requested he meet him here. We went over everything and showed him all the mistakes, and the guys told the owner they would work late last night.  I was in the basement with my MIL packing, when we realized at 6pm that it was awfully quiet upstairs. They had left for the day, leaving sawdust all over the floor in the powder room, the fridge pulled out, their tools plugged in and their step ladder in the middle of the kitchen.  Nice.

Hopefully things go better today, and they show up at a decent time. I would like to get these rooms finished so I can enjoy having a functioning kitchen and bathrooms again.

Supplies:
Card size: 4-1/4 x 5
909 Hoppy the Frog, Pop it Ups - Karen Burniston (Elizabeth Craft Designs)
779 Lucy Label Pop Up, Pop it Ups - Karen Burniston (Elizabeth Craft Designs)
1279 Lace Border Peel-Off - Elizabeth Craft Designs
503 Double Sided Adhesive - Elizabeth Craft Designs
641 Cool Diamond Silk Microfine Glitter - Elizabeth Craft Designs
Witches hat stamp - Printworks
Copic Markers
Patterned paper (green) - scrap
Patterned paper - Recollections
Black card stock
White card stock
Black enamel dots
Orange seam binding
Halloween Chipboard - MME
Black Sharpie

Thanks for stopping by today!